Showing posts with label A. introduction assignment. Show all posts

Sunday, 27 September 2015

connotation photo exercise


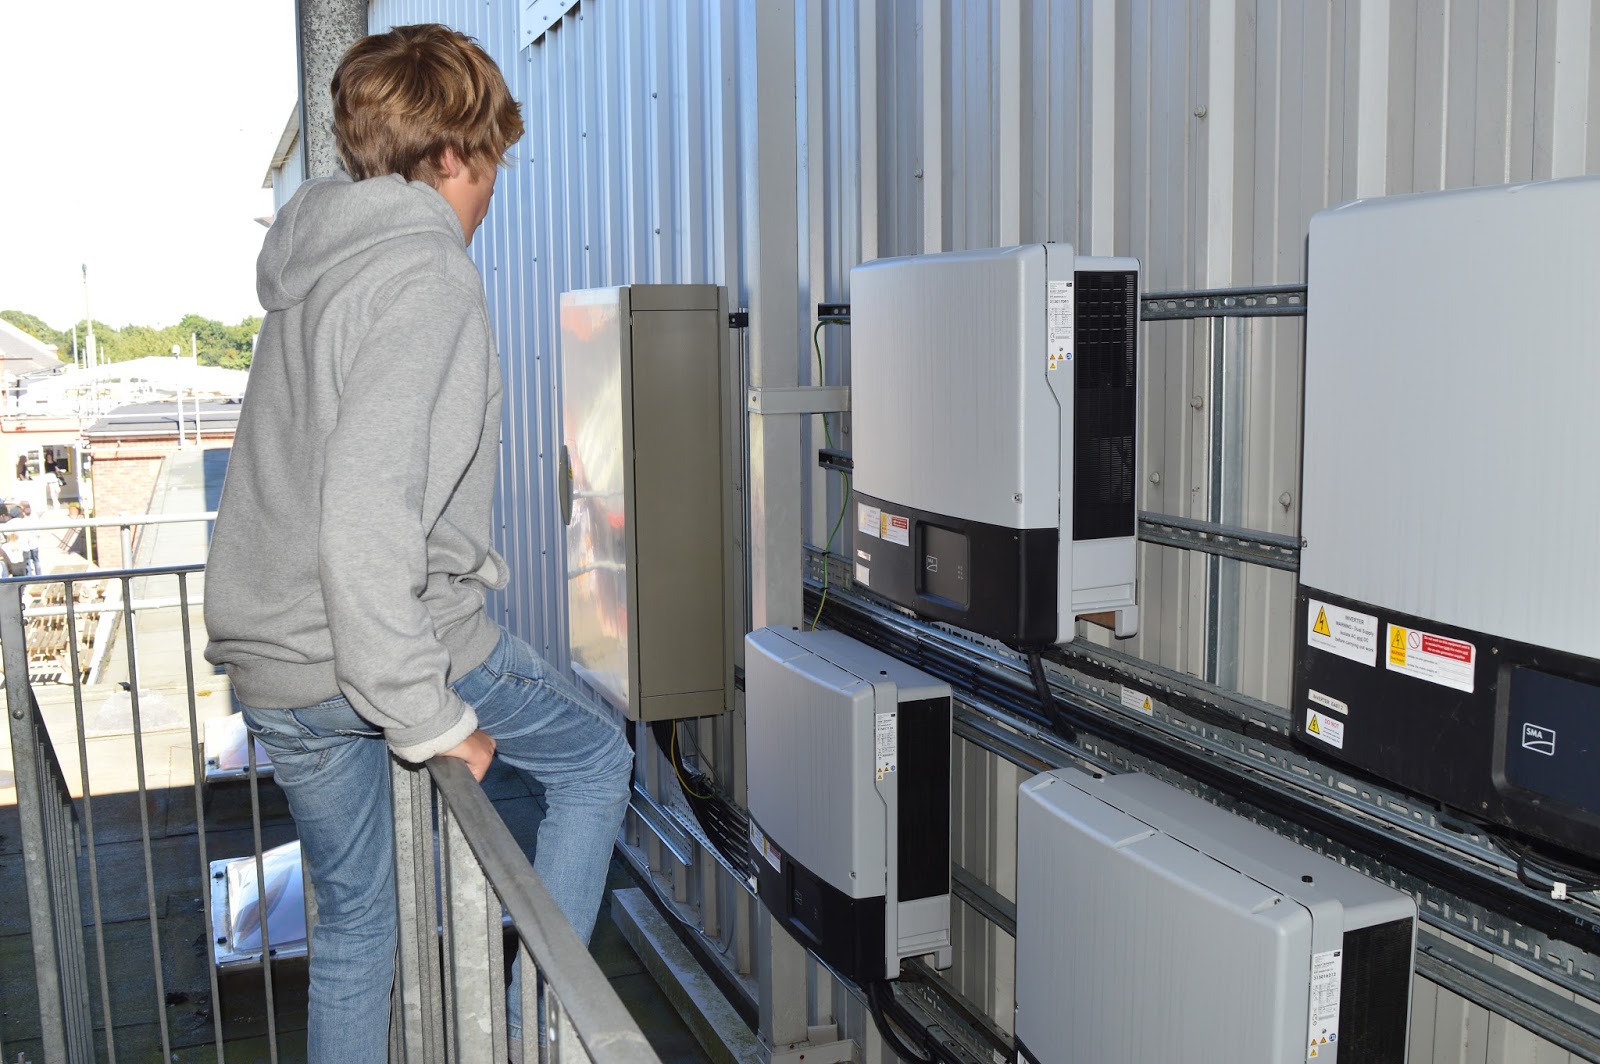
Danger


We took this image using a wide shot to capture the surroundings in which we felt were essential to the shot and presenting the theme 'danger.' As you can see in the image someone is climbing over a fence with caution and warning sides the other side. 

poverty


Here we used a high angle to imply the position of the person in the picture. Taking the picture from higher up gives the impression that someone is looking down upon them and therefore shows their position as well as weakness. The theme that we tried to create with this picture was 'poverty' and we used props such as cardboard, his surroundings and his body language to portray this. 


friendship


We chose this image to represent 'friendship.' We used an over the shoulder shot as we felt it showed unity and friendship as the people in the picture are walking close by one another talking. 


purity 


We chose this image to portray purity as we felt the blue in the eye connotes things such as water, peace and tranquility. We used an extreme close up to capture the colour and detail in the eye.

weakness
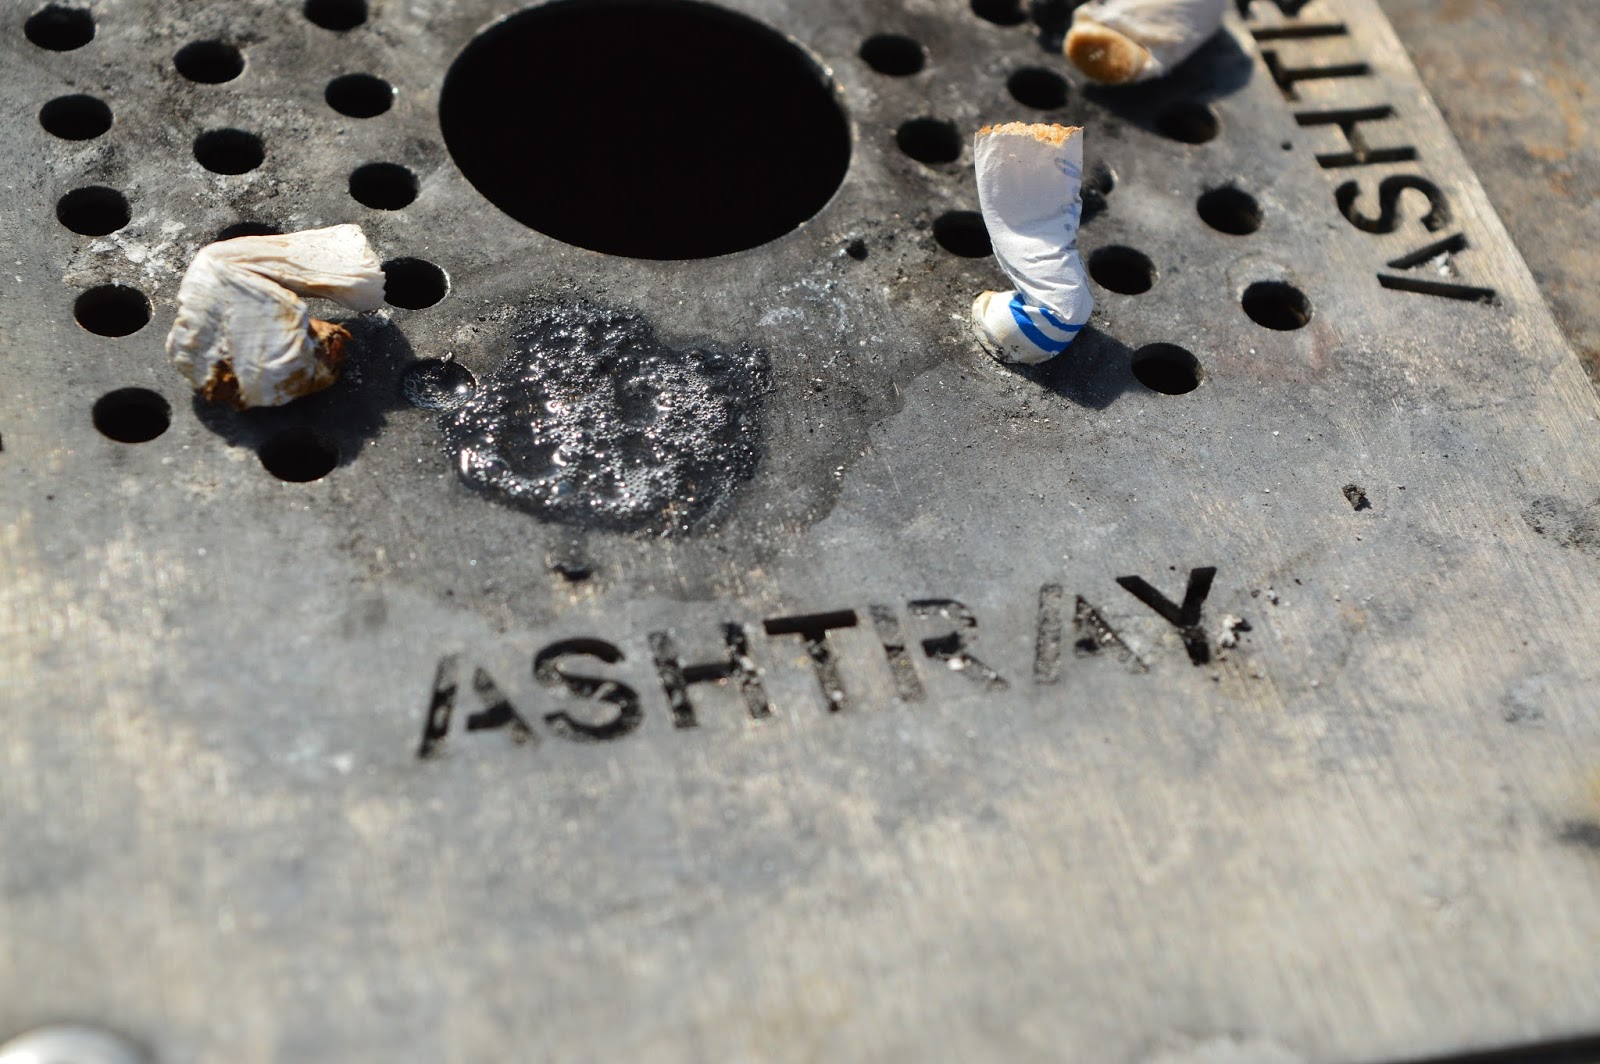

We took this picture to show 'weakness' as the cigarettes in the ashtray represent giving in to addiction and therefore displaying weakness. We chose to use a close up angle to focus the attention just on the cigarettes rather than anything going on in the background. 

wealth


We took this image to capture the theme 'wealth' as it shows someone getting into a nice car. I feel this image worked well as the camera angle we used (low angle) shows power and status.

love


This image shows love as it's bright and colourful, connoting happiness. The people in the picture are staring into one another's eyes also contributing to the theme 'love.' We used a wide angle shot to capture the surroundings and also to show the closeness of the couple. 

Evaluation of continuity sequence


Mise-en-scene

This is everything within the shot such as costumes, props, cinematography etc. Everything is there for a reason and therefore it is used to create the overall scene. In our short film we used three main props, a gun, a phone and a briefcase. The briefcase was used to create a sense of mystery as you never actually get to see what is in it yet the film is focused around it. The phone was important as it set the story and location of the film and the gun was used to imply there was a shooting at the end. All three props we essential to creating the overall story line and without them it wouldn't make sense. As we weren't able to use any dialogue it was challenging to ensure our film made sense to the audience. However in my opinion with the props available to us we were able to do this moderately well.

Something I feel we could have done better was the point of view shot. We shot one character pointing a gun at the other from his POV to create an impact on the audience at the end of the film. However the fact the gun covers the other characters face meant that the shot lost some of its effect as his emotion could not be seen through his facial expression.


Lighting 

In our short film we used ambient lighting. Ambient lighting is naturally occurring light meaning that no artificial lighting is being used. I feel we could have made use of the lighting better as some shots were slightly over exposed. This also made the shot look out of focus and in turn made it less effective in building tension.


Also one shot was quite dark which made it look messy going from an over exposed shot to a dim lighting one. However this wasn't necessarily bad as the shot of the antagonist's face at the end was shot in low key lighting which connoted danger and therefore worked quite well with the action about to happen.

high and low angles 

High and low angled shots are usually used to imply position, power and status of the character. we used a low angles to make the protagonist appear powerful as he leaves the room to meet the antagonist. I felt this shot was really effective in achieving this as it captures his face for the first time in the film from a low angle connoting power. Before this shot the protagonists identity is concealed. This worked well in creating a sense of dominance and high status of the character.


Shot distance


We used a range of shot distances in our short to meet the criteria of the brief. the ones I felt worked best were the over-the-shoulder shots. We used these shots to help establish the positioning of each character whilst creating tension. Although the shots work well we had to flip one of them as it placed the antagonist on the wrong side, making it unrealistic. This is something I will be more conscious of next time I'm filming.These shots also helped build tension as in between them was a shot of the package being exchanged.


We took two extreme close ups in our short. These shot distances are used to focus on details. We used this to capture the shot of the the phone at the beginning to make it apparent to the audience what was happening. Taking an extreme close up was also useful in getting the shot to focus and make the writing clear. We attempted to take the shot from an over the shoulder angle however it didn't give the same clarity as the extreme close up therefore we didn't use it. We also used an extreme close up when shooting the watch so that you could clearly see the time matching that of the agreed time over text. 

Camera movement 

One camera movement I felt worked well was the crab shot of the protagonists feet as he walked down the corridor. A crab shot is where the camera body moves laterally. We used a slider to achieve the shot as we wanted the camera to follow his feet and felt this was the best way in doing so.


eye-line match shot

An eye-line match shot is a technique used to show an audience what the character on screen is seeing. We used this technique when the protagonist is looking down at his watch. We achieved this by shooting him looking down at his arm and then a close up of the watch. I felt this work well as the two shots worked well together and ran fluently from one to the next.


Overall I learnt a lot carrying out this assignment. Mainly I learnt that to make a film tell a story fluently it isn't necessary to shoot everything. I also found that using different camera angles and distances can create different effects and found what ones worked well for what we were trying to do. One thing I feel as though I need to practice more is using the editing software. As some of my group were more confident using it and I felt i didn't really get a chance to have an input into the editing of our film.